JST has now added SmartData. This allows you to export your CollectMax data into an updating external SQL database. This is useful for building reports and other data needs outside of the CollectMax system.
Note: This is a Version 10 Feature. For information on obtaining Version 10 or any other optional Module, please contact the Sales Department.
Note: You must have MS-SQL Server 2016 or higher, a pc with Windows 8 or higher and Microsoft SQL Server Management Studio in order to use SmartData. A current support contract with JST is also required.
To start this, go to the Interfaces tab and click on SmartData.
This will bring up the SmartData interface.
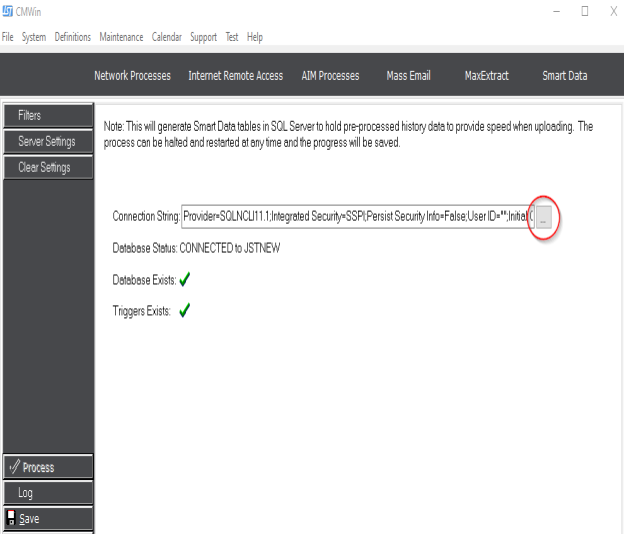
Now let’s set up the SQL server connection. Click the Server Settings button on the left.
This is where you’ll set up your SQL connection. Click on the ellipse to the right of your Connection String box.
Note: It is highly recommended that you connect to in instance of SQL Server that does not reside on the same server as your CollectMax data to avoid potential speed issues.
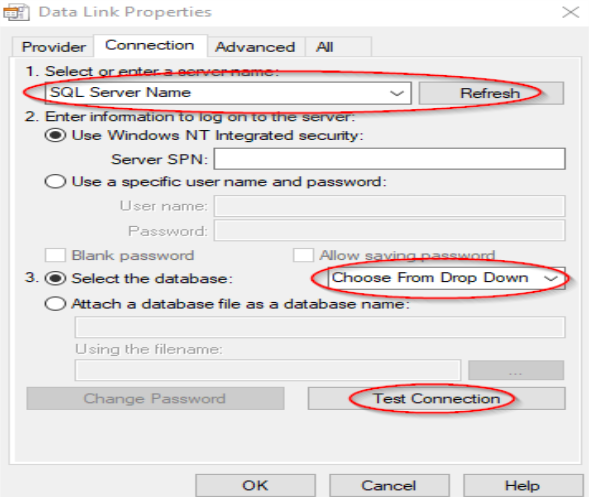
This should open the Data Link Properties window.
These are the settings we recommend:
Provider tab: SQL Native Client 11.0
Connection tab:
Advanced tab: Leave the Default setting.
All tab: Leave the Default settings.
Once these are set you can click the Test Connection button.
Note: Users must be out of the CollectMax program during this stage.
If these setting are set correctly, you should get a box that pops up stating Test Connection Succeeded.
Now we’re ready to sync the data.
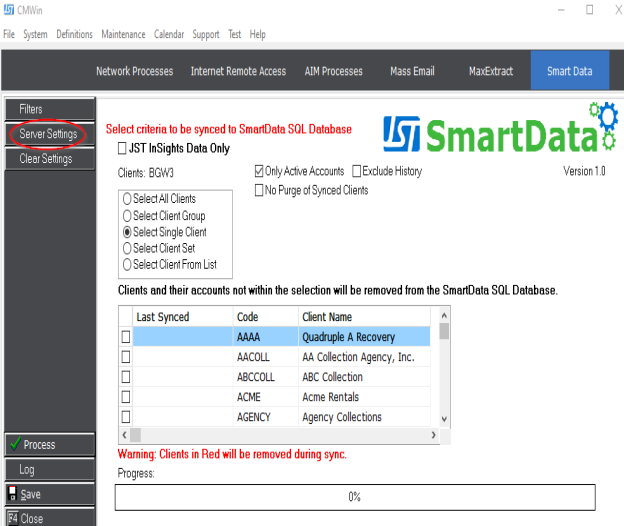
Go back to the Filters screen.
You’ll notice the first check box for JST InSights Data only.
This is for exporting a dataset for JST Insights or IDAP integration.
Note: Customer must have an agreement in place with Provana in order to use JST Insights or IDAP.
Choose the Client(s) you would like to include in your dataset from the selection box.
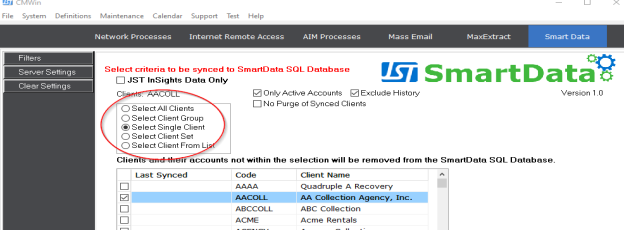
You can also choose to only include active clients, exclude history, and to not purge previously synced clients.
When you have your criteria set, click the Process button on the left.
Once completed, you will see a message indicating that the sync is complete.
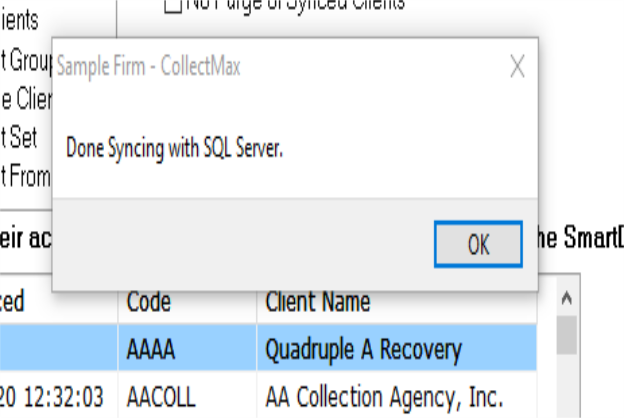
Your initial seed file has been created, and your SQL Database is now ready to use. You are free to update the seed file as often as you see fit.
The Save button will let you choose to save the settings of what you selected, or save a script for Automation of syncing your databases.
Note: You can find more information on Automation in CollectMax here. (link to Automation)
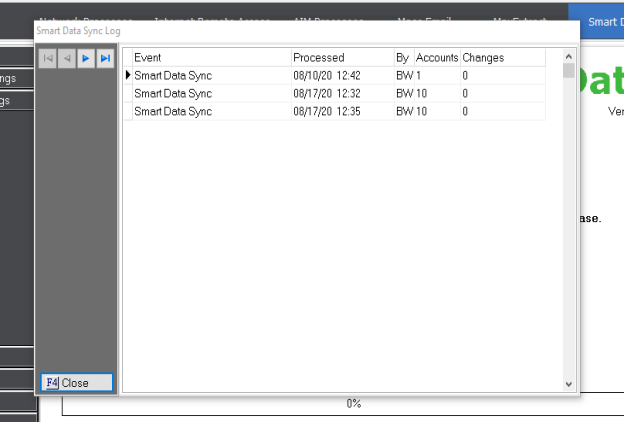
Clicking the Log button will display all activity in the SmartData interface.