 button and select SmartClip or you can type cltr - alt - v at the same time to bring up the SmartClip screen.
 This feature is designed to allow you to set some buttons that for online sites such as skiptracing tools, e-filing or more. You can setup different levels with up to 12 different user defined button to match the data fields you will need.
This is a Version 11 Feature. For information about the purchase of Version 11, please contact Sales.
From any account in CollectMax, click the button and select SmartClip or you can type cltr - alt - v at the same time to bring up the SmartClip screen.
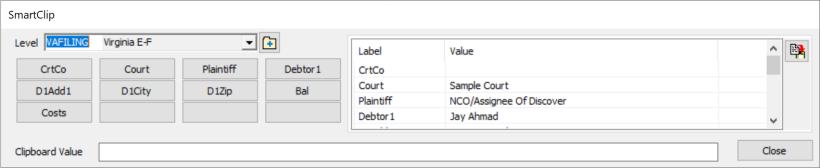
This screen will pop-up on the top left of your desktop and it will allow you to navigate within the account and move to other accounts.
From the Level Drop Down, select the SmartClip level needed and the buttons associated with that level will be displayed.
Click the button for the data you would like to be copied to the Clipboard to be pasted.
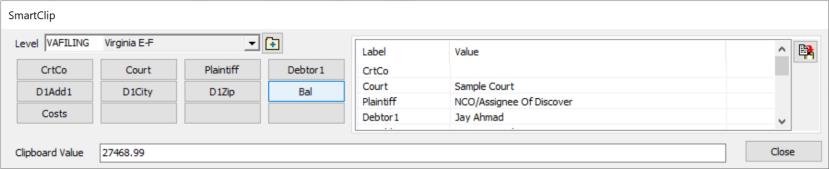
The data will be displayed in the Clipboard Value screen and be in the clipboard to paste. Continue to pick the buttons needed to copy the data to the clipboard and paste into the fields as needed.
You are also able to copy all data plus button labels to the clipboard by clicking the  button.
When ready to go to another account, you can leave SmartClip open and arrow to or find the next account and the data on SmartClip will refresh with the new account. This is especially helpful when working Worklists.
On the SmartClip Screen, click the  button to display the SmartClip Level List Screen.
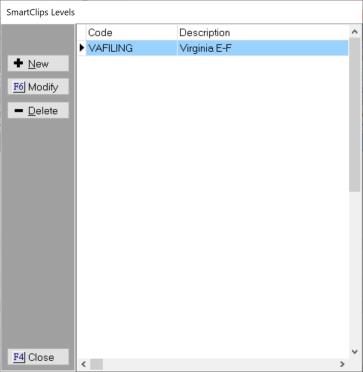
Click the  button and the SmartClip Level Setup screen will be displayed.
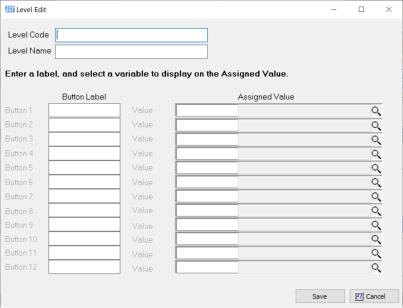
Levels should be a collection of information that you would typically need to paste on a website or other location like all the fields need to pull a credit report. You have up to 12 data points per level. If you need more you will need to create two or more levels that includes extra buttons.
Enter the Level Code and Description that helps users know either what data will be included or what process it this level is for.
Then enter your button Label. This is what will display on the button. There is limited space so be creative. You can do one button at a time or all labels and then go back an attach the variables.
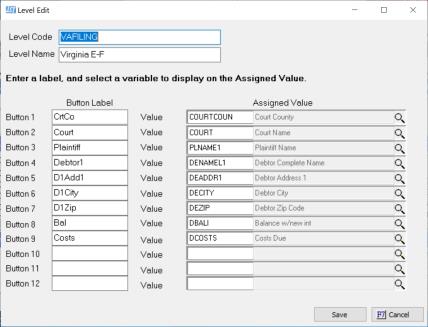
To add the variables, you can type in the code if you know it. If not, you can click the magnifying glass icon on the value bar and display the Variable Search Screen.
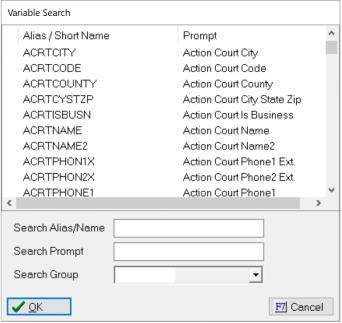
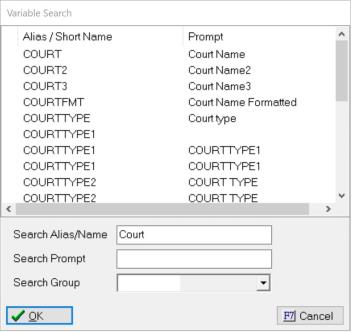
You can choose to search by Variable Code or Short Name or by Variable Prompt. Type what you are looking for and it will search the list of Variables. You can also narrow down the variables to search by picking the variable Groups that correspond to the Groups of Variables in the Master Documents.
Once found click on the Variable you need, and click  button and it will display on the edit screen.
Continue to add buttons labels and the corresponding data field variable until you are finished and the save to begin using this SmartClip Level.
While in SmartClip, you can navigate to another account and the data in SmartClip will be updated with the new accounts information. This makes it possible to use SmartClip with Worklists. You can make a worklist of accounts that need skiptraced or e-filed and move from one to another using SmartClip to more quickly paste into the websites data fields.