 button.
 1.
From the
main menu of CollectMax, click
the button.
2. Find the Debtor Account you need to enter the lien information on.
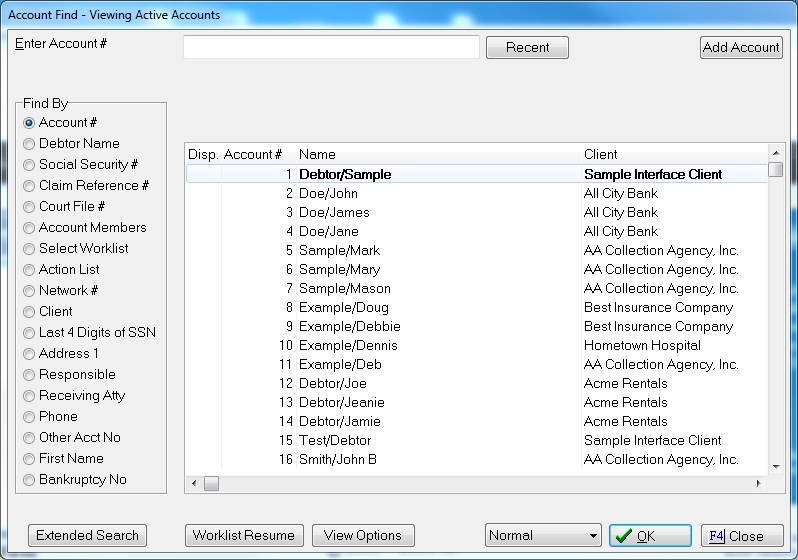
3.
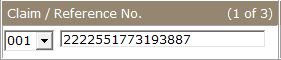
From any Tab, select the appropriate Claim by clicking the  button and select the claim form the list.
Note: Selecting the proper claim before entering the lien is essential. The proper claim cannot be selected from the Litigation Screen and once a lien is entered, you cannot move the filing to another claim without deleting and re-enter it.
4.
On the Claim Tab, click the
 button in the Litigation area to open the Litigation Screen or click the
  button to the left of the screen on any Debtor Tab.
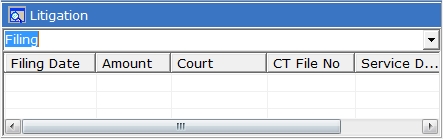
5.
On the Litigation Screen, click ![]() button to display the Wage Garnishment Screen.
button to display the Wage Garnishment Screen.
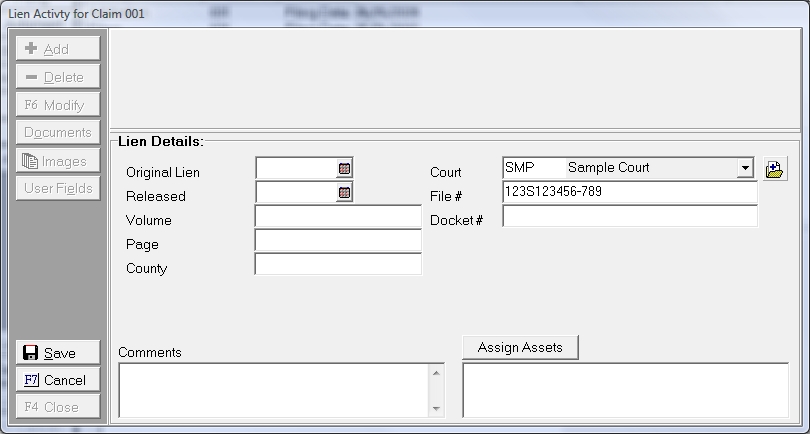
6. If this is the first Lien entered on this claim, start by filling in the Original Lien Date in MM/DD/YYYY order or clicking the ![]() button and selecting the date. If this is not the first Lien entered, click the
button and selecting the date. If this is not the first Lien entered, click the  button and enter the Original Lien Date as above.

7. Enter any of the following information that is currently available:
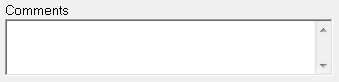
8. Enter any additional information in the Comment field. These comments can be pulled into Master Documents by using the LIENCMTS variable.
9. The Court will automatically be filled with the Preferred Court. If this Court is incorrect or Blank, you can select the proper court by clicking the  button and selecting from the list. If your court is not listed or you need to add a new court, click the
  button. See New Court - Payee Code.

10. The File Number will automatically be filled with the Preferred Court File Number. If the Court File Number is incorrect or Blank, you can enter a different File Number.

11. If known, enter the Docket Number.

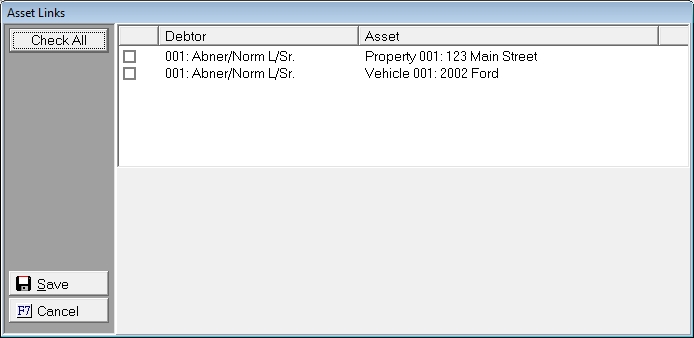
12. Assets can be attached to the Lien. Click the  button to display the Assets Link Screen.
 '
'
Click the  box next the correct Debtor/Asset Combinations that are included in this Lien. Click the
  button to attach the assets to the Lien.
13.
Click the
button to enter the Lien Information. Multiple Liens can be entered per claim and asset.
14.
To exit
the Lien Screen, click the  button.